How to Edit Film-Style Photos on Your iPhone
Using the Liit App
Editing is where the film-style magic really comes to life. There are lots of apps out there, but one of my absolute favourites (and also one of the most underrated) is Liit, a free, powerful photo editor that gives you incredible control and a clean, non-intrusive interface.
You can download it here: Liit on the App Store

In this section, I’ll walk you through how I edit one of my own photos, a shot of a boat on the lake at Disney Springs, using Liit. But feel free to dial in the settings however you like. This is a guide, not a formula.

Step 1: Open Your Photo
Start by launching Liit and choosing an image from your iPhone’s camera roll.
Step 2: Choose a Film-Style Filter
Liit comes with some great built-in filters, but I’ve also created a collection of film-inspired presets you can download for free.
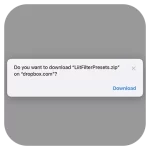
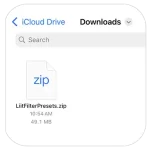
On iPhone, press download when prompted. This will save the zip file to your Downloads folder, then go to the Files app and tap on the zip file to extract them.
![]()
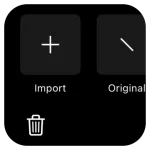
To import them:
-
Tap the import icon in the filters section (You may need to tap on the imported folder for the import button to show up)
-
Navigate to your Downloads folder
-
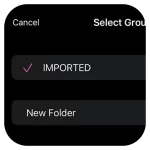
Select all the filters you extracted
-
Add them to a folder (the default folder is “IMPORTED” or create your own) and save them there
Now you can scroll through and pick a filter that fits the vibe of your image.
Tap on the filter again to adjust its intensity using the slider. Dial it up or down until it feels just right. When you’re happy, tap the checkmark in the bottom right to apply it.
Step 3: Make Tonal Adjustments
Tap the Adjust icon to begin refining your image. There are a number of handy tools to work with. Let’s go through them.
RAW Tool (If Applicable)
If you’re editing a RAW image, Liit will show a special tool to tweak RAW settings like exposure and temperature. I only use this if the photo needs basic correcting. If you shot in JPEG or HEIC, you can skip this, it won’t appear.
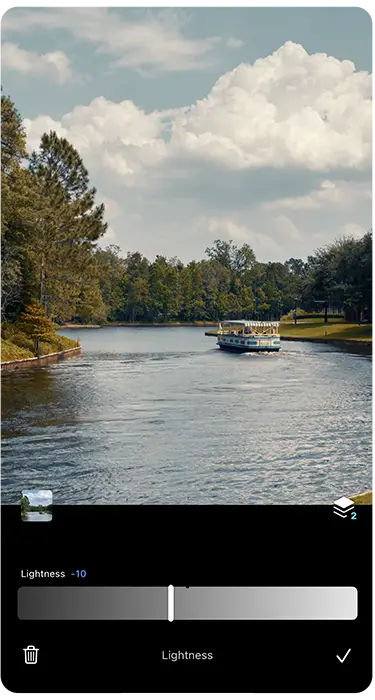
Lightness
Brighten or darken your image in subtle steps. One of the things I love about Liit is that the adjustments you make to the image are done in very subtle increments instead of overdoing it which allows you to dial in just the right amount.
For my Disney Springs boat photo, I dropped the lightness by -10 since it was taken on a bright, sunny day.
Contrast
Slide left for a faded film look, or right for more punch. I keep it balanced, depending on the mood.
Tone (Highlights & Shadows)
This is where Liit shines. I like pulling the highlights slider right to recover sky detail, and the shadows slider right to lift the darker parts of the image. It’s subtle differences, but it does the world in creating a authentic film look.

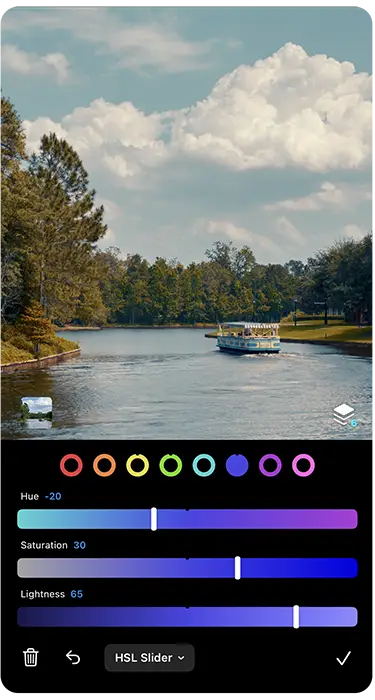
HSL (Hue, Saturation, Lightness)
Here, you can fine-tune individual colours, which is very useful for adjusting the sky, skin tone, or grass and trees in your photo.
I shifted the blues slightly toward cyan, and increased both their saturation and brightness to bring out the water and sky.
Channel Mixer
I usually skip this. You can too.
Vibrance & Saturation
Boost overall colour presence. I usually nudge vibrance up slightly to add richness without overdoing it.
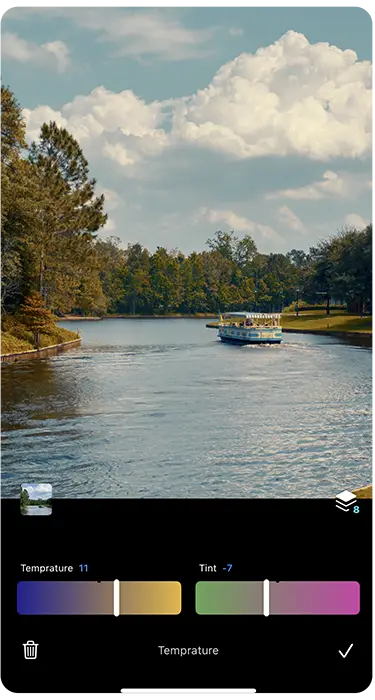
Temperature
Adjust the warmth/coolness of your image. I often add a bit of warmth and a touch of green tint to cut that magenta iPhone cast.
Fade
The fade tool softens the black point, making it appear more faded and vintage.
Curves
The curves tool is a bit more advanced and just lets you pinpoint where along the tonal range of the image you want to increase or decrease. You don’t have to use this if you don’t want to, often, the other tools are enough to work with in lightning or darkening the image.
From here, you press the tick on the bottom right to apply all of the adjustments.
💡 Pro Tip: Long-press the image at any time to preview the original and see how far you’ve come.
Step 4: Add That Film Feel with Effects
Now tap over to the Effects tab to layer in some real analog magic.
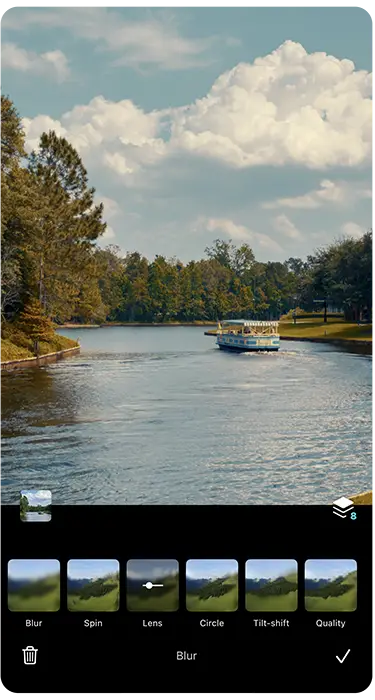
Blur
Adds softness or lens effects to make it look like missed focus, like a real analog camera might.
I like using Lens Blur at strength 5 to reduce the sharp, clinical feel of iPhone photos. You can also experiment with:
• Circle Blur for center-focused portraits and adds depth
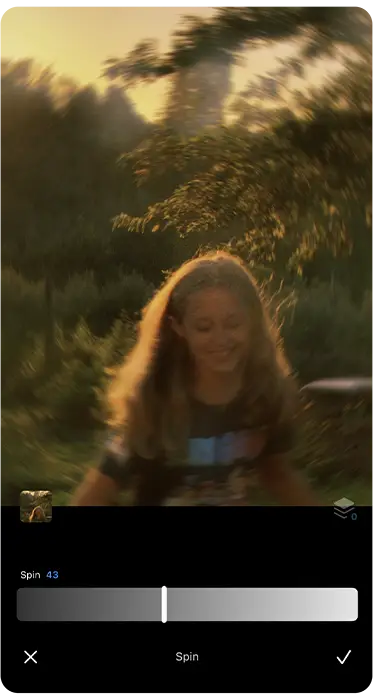
• Spin Blur which is great for adding motion to the image and making it feel alive
I’ll often add a small amount of lens blur (around 5) to get rid of the oversharpened iPhone look.
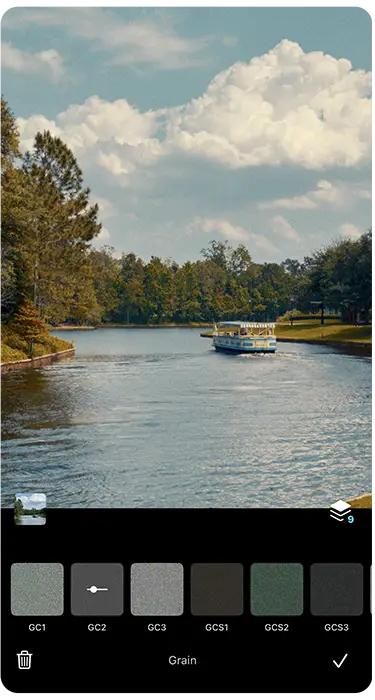
Grain
This is the soul of film and really adds that distinct film character. There are several overlays to choose from in the app, and you can adjust the strength of the effect by tapping on it. GC2 is my favourite grain overlay, and I keep it at 100 strength.
Dust
Adds subtle scratches and imperfections for that true vintage look.
Vignette
Adds a touch of darkening around the edges pulls the eye to your subject. I usually set this to 12 using the normal vignette.
Glow
Adds softness and dreamy haze. My go-to glow for most photos:
• Blur: 18
• Opacity: 16
Try Light Blur for extra dreamy softness, or Motion Blur for light streaks in dramatic action shots.
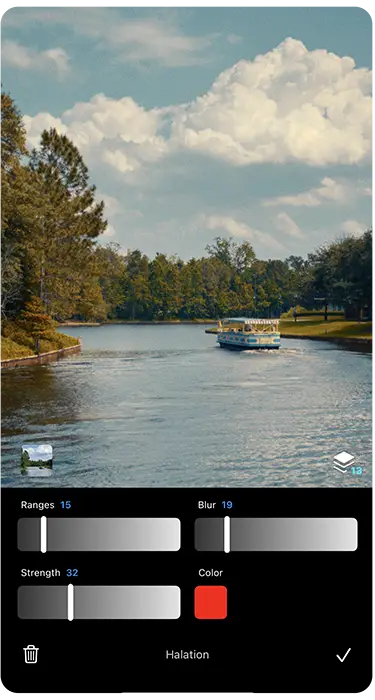
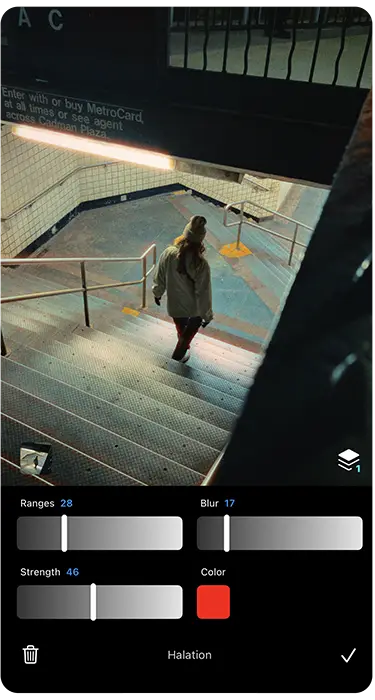
Halation
Simulates the light bleed effect typically found in actual film. I use this sparingly, unless I’m editing something with neon lights or signs, where it really shines.
Prism
Adds light refraction effects, cool for stylized edits, but I use it rarely.
Sharpen
After all the dreamy edits, a bit of sharpening (around 7) brings back just the right amount of detail.
Optional Final Touches
-
Borders: Liit includes film-frame borders if you want to go all in. I usually skip these and use a different app for borders (more on that later).
-
Cropping: The built-in crop tool is extremely useful for framing the way you want. I typically use a 3:4 aspect ratio, which fits Instagram portrait format perfectly.
Step 5: Save as a Template and Export
A handy feature in Liit is the ability to save your edit as a template for use on other photos:
-
Tap the Layers icon (floating near the bottom right)
-
Drag the window open
-
Tap the template save icon
You can even browse presets made by others, or apply yours to a batch of photos.
![]()
Final Step: Export Your Edit
When you’re done, hit Save in the top right, and you’re good to go. You’ve just created a photo that feels like it could’ve been taken 20 years ago, but captured in the palm of your hand today.


Video Tutorial
Check out this Instagram reel for a screen recording of my editing process.


Support the Guide
Pocketfilm is a free resource made purely out of a love for photography and creativity. If it’s helped you in any way, sparked a new idea, improved your iPhone shots, or simply brought back that nostalgic film feeling, and you’d like to say thanks, you can leave a small tip. It helps cover the time and tools that go into creating guides like this (and maybe the occasional coffee too).
No pressure. No subscriptions. Just a little creative fuel if you feel like it.
If you’re enjoying this guide, there’s more on the way.
I’m currently working on a new resource that dives into how to capture film-style video on your phone, cinematic, moody, and full of character. Think grainy slow-motion, nostalgic lighting, and handheld moments that feel like scenes from a movie.
Sign up below and I’ll send you an email when it’s ready (along with any other free tools, tips, or updates I think you’ll love).
No spam. Just honest, helpful stuff, when it’s worth sharing.
Follow @pocketfilm.gram on Instagram for more film-style inspiration.